Ever wrestled with a nail clipper that just wouldn’t cut cleanly? Fret not; sharpening your trusty tool is easier than you think, and essential for that impeccable, hassle-free trim. Discover the simple methods to restore your clipper’s edge and experience effortless grooming keep reading for insider tips and tricks on a flawless trim.
Table of Contents
Sharpening Nail Clippers
Disassemble the clippers
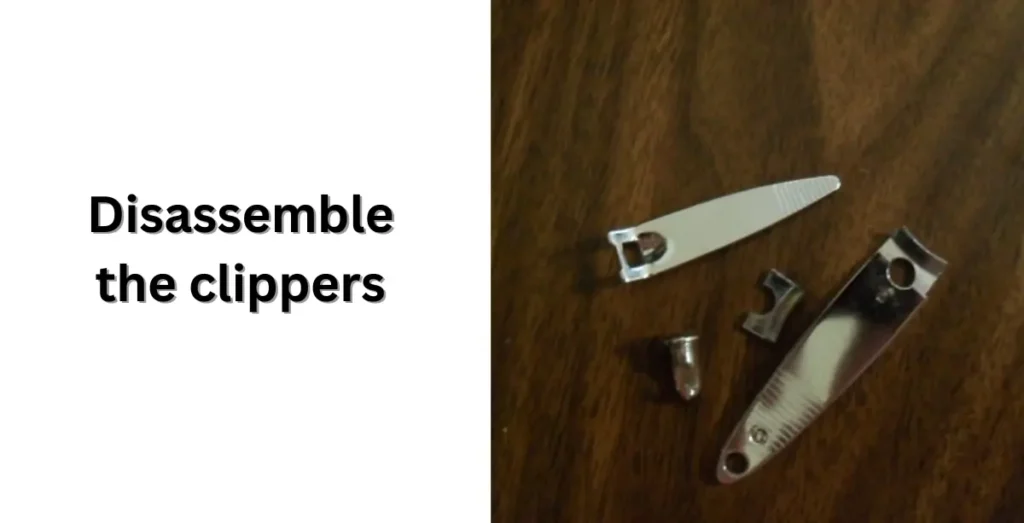
To effectively sharpen your nail clippers, start by disassembling the components. Squeeze the clipper blades with your thumb and index finger, then rotate the handle forward to detach it from the notch and pin, and set it aside. Now, you can sharpen the clipper blades for a precise cut.
Squeeze the blades together
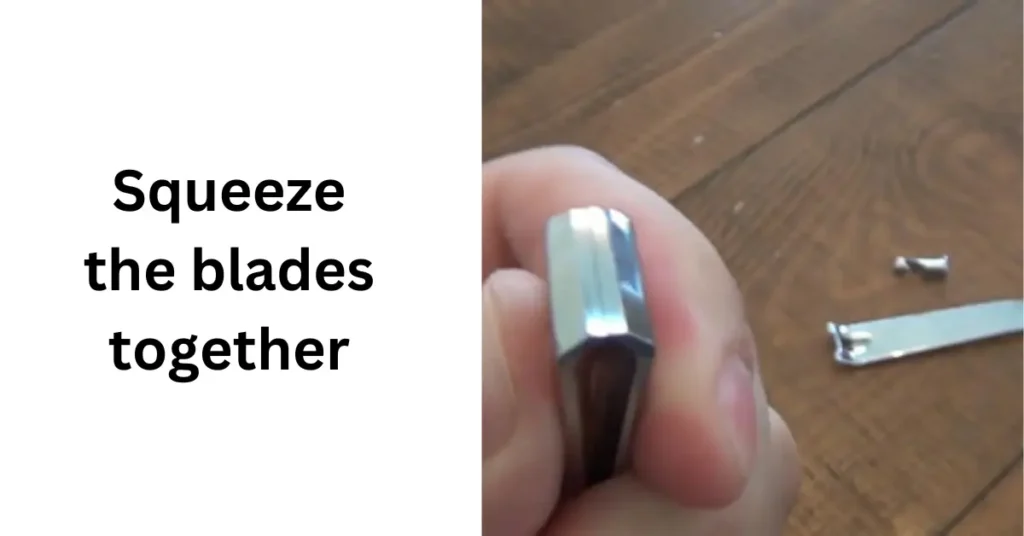
While sharpening the nail clippers, place the thumb and index finger at the end, ensuring the two blades meet perfectly. Then, squeeze them together with just enough pressure to keep them close and continue sharpening without slipping, a technique that seems difficult at first but gets easier with practice. If necessary, use a vice to hold the clippers in place for extra stability.
Sharpen the blades
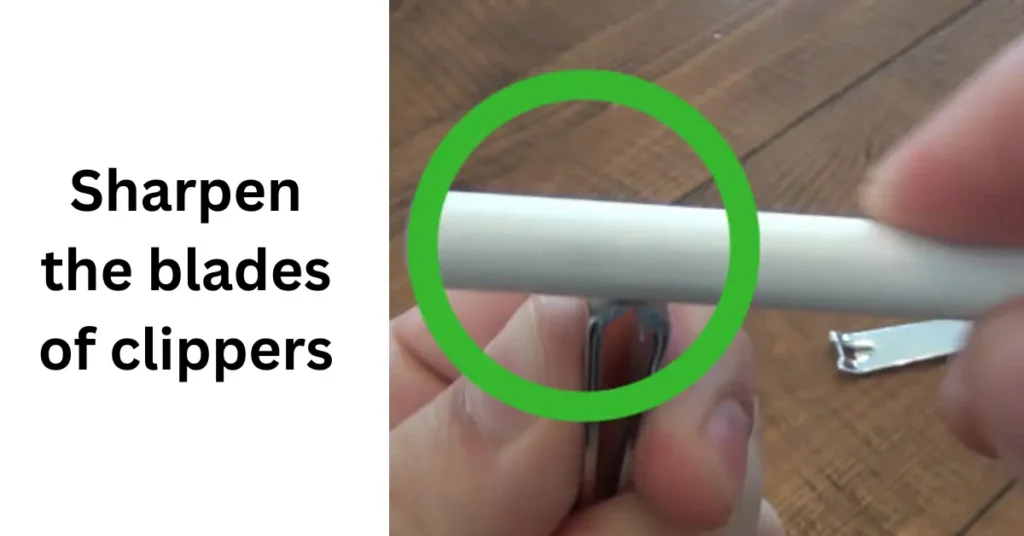
Use sandpaper covered around a dowel to precisely sharpen the curved blades, then switch to a flat sharpening stone to rub the clipper blades back and forth, ensuring they become nice and sharp after a few minutes.
Put the clippers back together
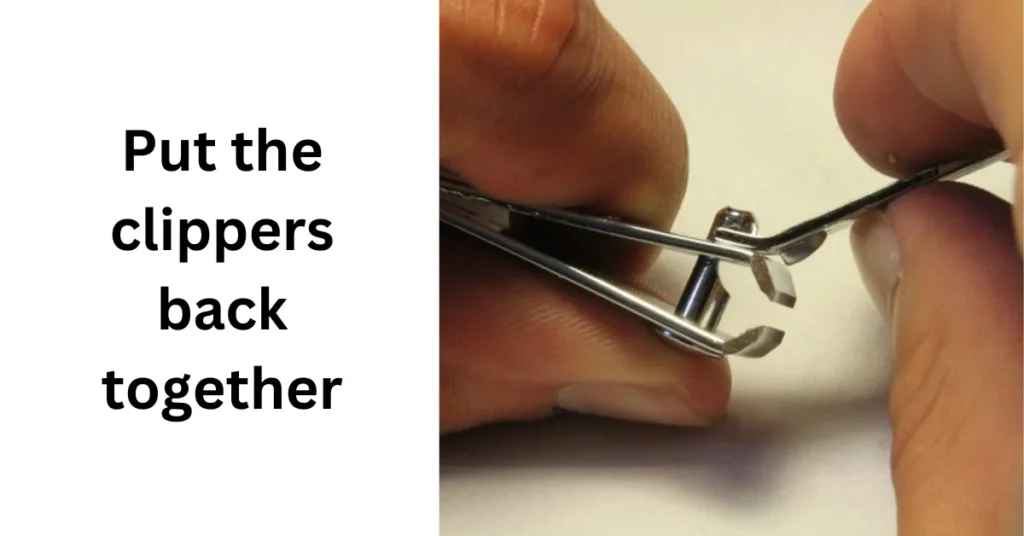
Once finished sharpening, carefully put back together the clippers by reinserting the pin into its hole, ensuring it fits snugly into the handle’s open end, and securing it by spinning it around into the notch ready to use the newly sharpened clippers for a clean trim.
Ways To Sharpen Nail Clippers!
Don’t bother buying a new nail clipper; sharpening your trusty buddy this weekend could save you more dollars than constantly heading to the dollar store. Every living person who owns nail clippers knows that a penny saved is a penny earned, and learning to sharpen can put a dent in your wallet over time. I’ve experimented with several methods over the years; some quick, some that take longer, but all have worked well and, if done correctly, will serve you well.
Bite & Hold Using Sandpaper As An Abrasive
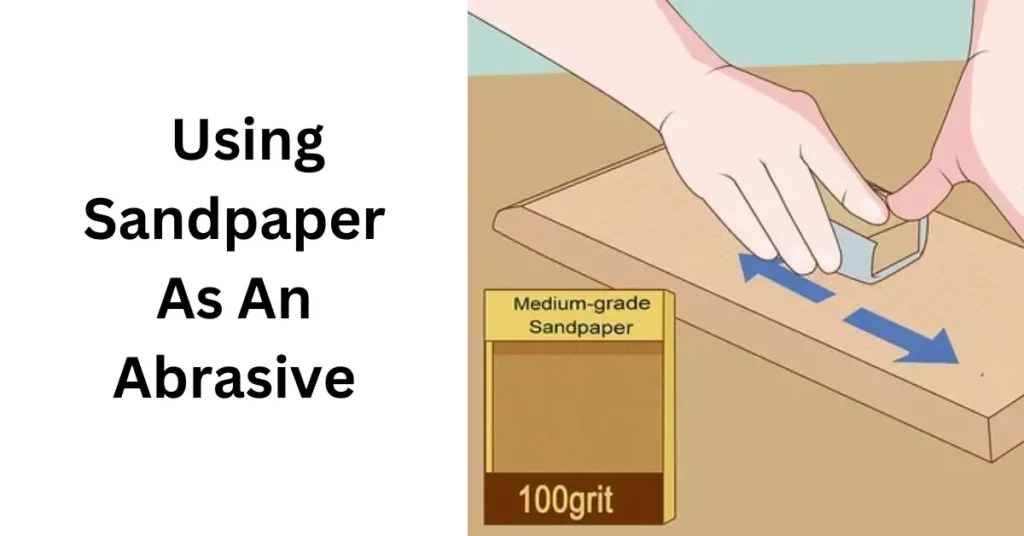
- Achieve success with a quick, easy, and effective method without taking the entire nail clipper apart.
- Address the dull edges sharpening needs based on frequently used rate.
- Utilize sandpaper as an abrasive, available in various grits found at stores like Canadian Tire or online.
- Opt for Mastercraft’s assorted pack for good value for money, starting with coarse grit and moving to fine and extra-fine grits.
- Bite the medium grit sandpaper and hold onto it for about 4 seconds, then release and repeat a total of 6-7 times.
- Progress to fine and extra-fine to refine and polish the edge, removing excess steel.
- Rinse clippers in lukewarm water after sharpening and before the first tryout.
- Be mindful; this approach can be more aggressive as it removes a small amount of steel. Use a light touch for the best results.
Bite & Hold Using Emery Cloth As An Abrasive
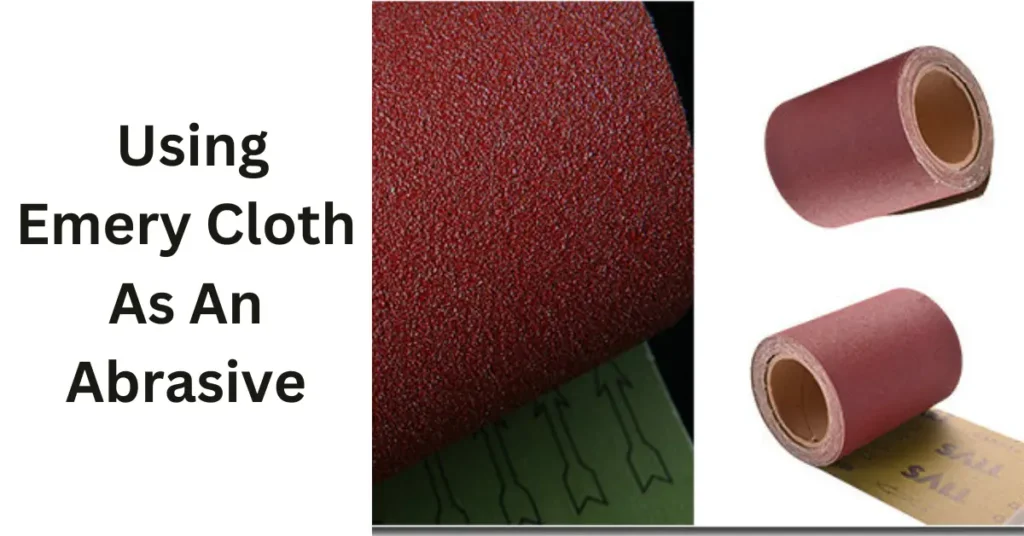
- The second method is quasi-identical to the first, with an exception: the type of abrasive used.
- Emery cloth takes the place of sandpaper, a finer abrasive with origins in Turkey.
- Unlike sandpaper, emery cloth is stone attached to cloth, offering a medium better suited for finishing metals.
- The same process applies as with sandpaper, simply replacing it with emery cloth and following the same grit progression.
- The key is to maintain movement in a single direction, from coarse to fine grit, to ultimately polish the edge.
- Drawing from experience, using emery cloth gives that extra finesse, resulting in a finely polished and sharp edge.
Pull Out Your Diamond Stones!
- Utilize Diamond stones to sharpen tools, including nail clippers.
- This method takes a bit more time compared to others.
- Requires disassembling the clippers, which should be less than a minute.
- Care is needed to prevent potential over-removal of metal.
- Best used when clippers are excessively dull or finer abrasives aren’t available.
- If you don’t have one, consider getting your hands on a diamond stone after reading my post.
- I recommend this method for its precision and the flawless edge it can provide.
Cleaning Nail Clippers
Take the clippers apart
Many people don’t realize how to take apart nail clippers, but it’s quite easy. Simply squeeze the blades together, flip the handle up and over, then pull it off; the pin will release and fall right out. Set the pin and the handle aside, and your clippers are ready to be sharpened.
Wash the clippers
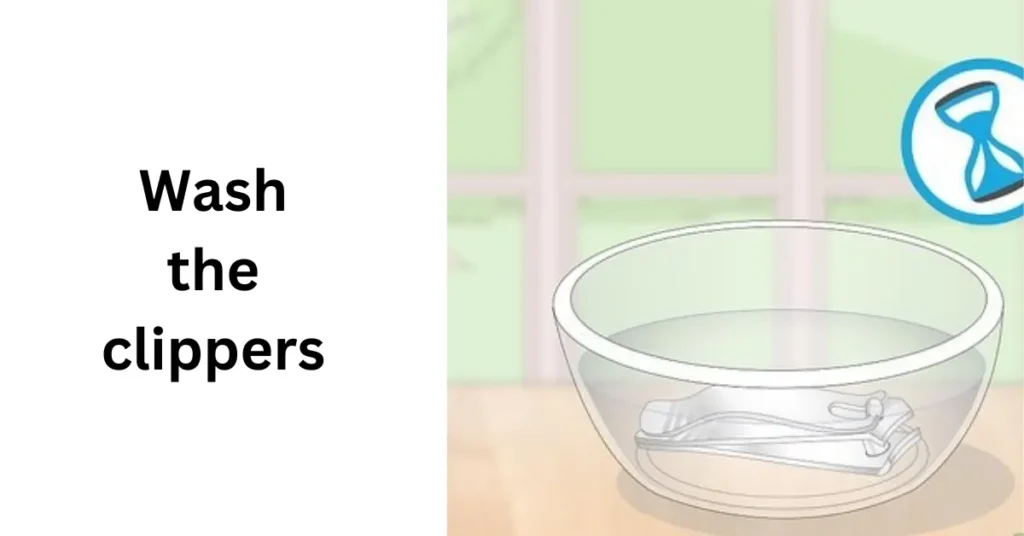
To ensure clean and efficient clippers, dip a manicure nail brush into soapy water and scrub the clippers to remove any debris. Then, rinse and dry the parts, or hold them under warm running water and use an old toothbrush with dish soap for a thorough clean, finishing by applying rubbing alcohol with a cotton swab for sanitation.
Clean all surfaces of the clippers
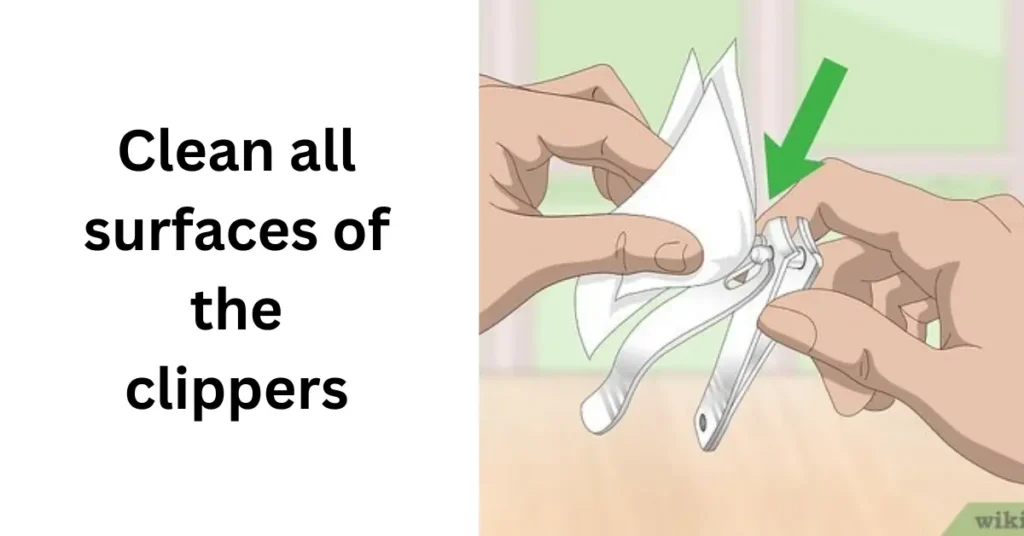
Wipe each surface of the nail clippers meticulously with the tip of a cotton swab, giving extra care to the area around the blades that get dirtiest, and don’t forget to clean the pin and handle. This practice is recommended before each use, especially if you share your clippers with other people.
Put the clippers back together
Once you’ve finished cleaning the surfaces of the clippers, put them back together by inserting the pin into its hole until it slots into the pin notch. Squeeze the blades as you reattach the open end of the handle, and don’t forget the final step of sanitizing your tool with a spray for complete hygiene.
Conclusion
In conclusion, maintaining and sharpening your nail clippers not only saves money but also enhances your grooming experience with clean, precise trims. Regular care, consisting of the easy steps outlined above, will ensure your clippers remain in top condition, providing you with reliability and hygiene in your nail care routine.
FAQ,s
How can I sharpen my nail clippers?
To ensure your nail clippers are always ready for a flawless trim, use a file to gently sharpen the blades, taking care not to over-sharpen which could weaken them. Always store your clippers correctly and properly maintain the hinge and spring to avoid damage.
Does cutting aluminum foil sharpen nail clippers?
Cutting aluminum foil is a money-saving hack to sharpen nail clippers, maintaining sharp edges and reducing the need to purchase new ones.
Do nail clippers go blunt?
When nail clippers see consistent use, their blades can lose sharpness, making cuts less precise. However, don’t fret; blunt blades can be revived with simple sharpening techniques to revitalize the cutting edge.
