Achieving salon-worthy acrylic nails at home is within your reach with the right tools and techniques. By mastering the art of DIY acrylic nail cutting, you can enjoy beautiful, professional-looking nails without leaving the comfort of your home. Let’s dive into the process and explore how to create a flawless finish every time!
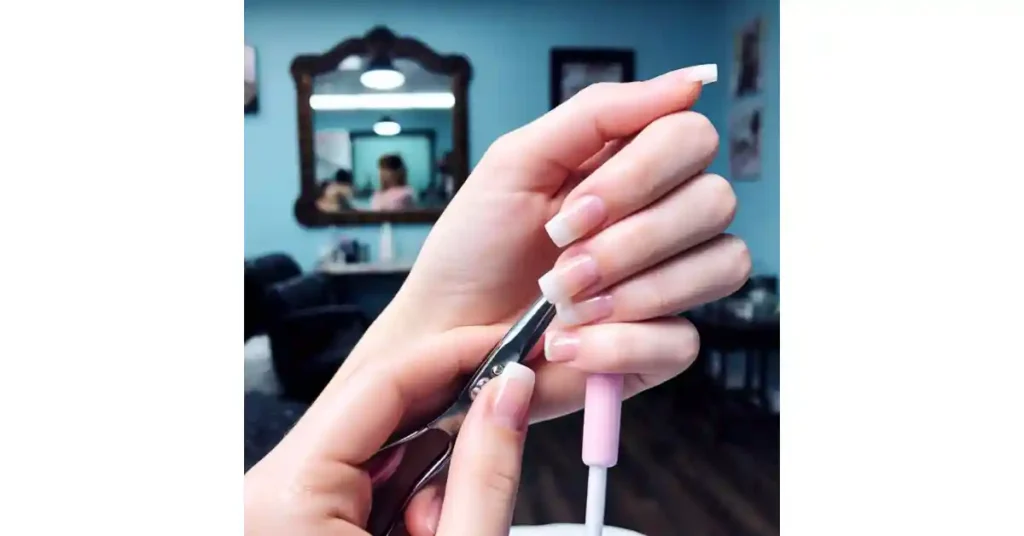
Table of Contents
DIY Acrylic Nail Cutting: Steps for a Salon-Quality Finish at Home
Achieving salon-worthy acrylic nails at home is within your reach with the right tools and techniques. By mastering the art of DIY acrylic nail cutting, you can enjoy beautiful, professional-looking nails without leaving the comfort of your home. Let’s dive into the process and explore how to create a flawless finish every time!
Before cutting acrylic nails, make sure to:
> Ensure your acrylic nails are clean and dry before starting to cut, as this helps prevent weakening and ensures a smooth and clean cut.
> Use a sharp nail clipper, specifically designed for acrylic nails, to avoid splintering or damage during the cutting process.
> Trim in small sections to maintain a controlled process and achieve a precise finish, ensuring nail protection and overall results.
Introduction to acrylic nails
Acrylic nails are a popular fashion trend that immolates the look of professional nail extensions, offering individuals a chance to enhance the beauty of their hands with durable, customizable artificial nails made from a combination of liquid monomer and polymer, creating strong, long-lasting nails that transform the face of your manicure.
What are Acrylic Nails?

Acrylic nails are artificial extensions designed to enhance the beauty of real nails by applying a pliable mixture of liquid monomer and polymer.
These durable, visually appealing extensions come in a variety of shapes, lengths, and intricate designs, making them a popular and ideal choice for individuals seeking a customized look.
With advancements in nail art, acrylic nails are applied by technicians using kits, offering both aesthetic appeal and practical functionality for protecting natural nails while strengthening them.
Personally, I’ve always found acrylic nails to be a great way to express my individuality, creating both elegant and strong nail designs that last.
Can You Cut Acrylic Nails?
Good news you can definitely cut acrylic nails at home! If your nails feel too long or need to be trimmed, simply use a nail clipper to cut and file them carefully, preventing cracking or damaging the acrylic. Many choose to visit a nail salon for a small fee, but with DIY skills, you can remove or trim them yourself and achieve a professional look.
From my experience, trimming acrylic nails at home is easy, and I’ve found that taking the right precautions ensures a clean and polished finish without damage.
Tools and Materials Needed to Cut Acrylic Nails at Home
The following are important materials and tools for cutting acrylic nails at home.
Acrylic Nipper
Nail Polish
Cuticle Nippers
Cuticle Pusher
Moisturizer
Steps to follow to cut nail Acrylic
By following a comprehensive guide for cutting acrylic nails at home, you’ll be able to achieve a salon-worthy result with meticulous steps, from removal of nail polish to moisturizing for the final touch, ensuring a seamless aesthetic appeal and promoting the health of your overall acrylic nails. This sequenced action allows for careful blending of the cut, maintaining the beauty and durability of the nails. Let’s study together…
Remove Nail Polish
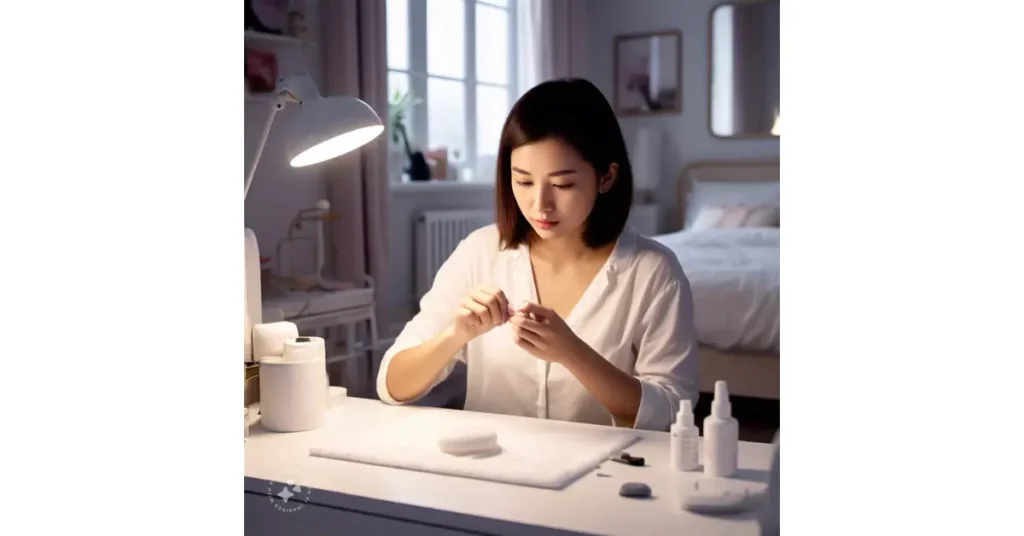
Removing the nail polish is the initial step in the acrylic nail-cutting process, ensuring that any pre-existing polish or residue is eliminated. This scrupulous phase is crucial for a pristine and clear surface, preparing the nails for the next steps.
From my experience, a gentle yet thorough wipe-down is essential to achieve the desired outcome, ensuring a smooth preparation for the cutting phase.
Soften Your Cuticles
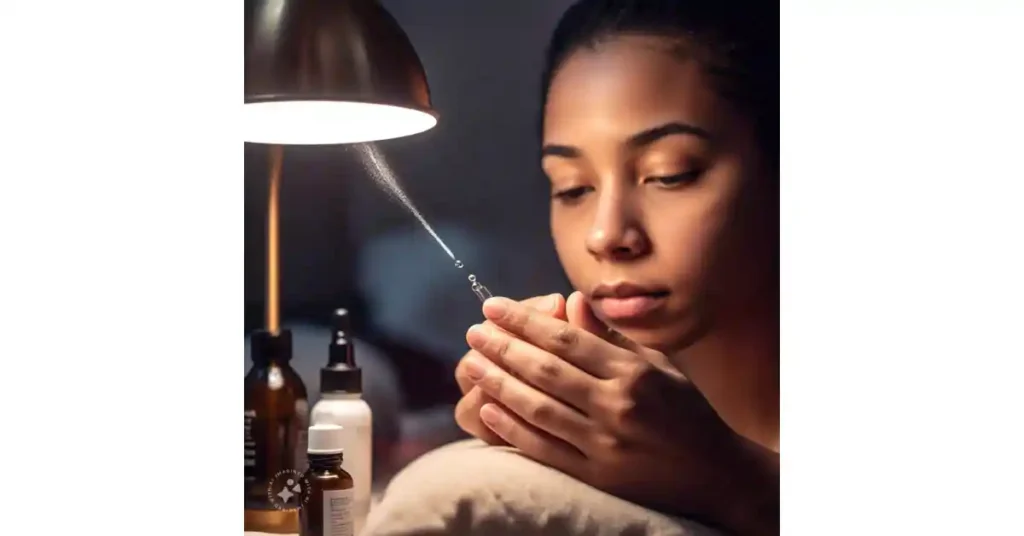
To soften your cuticles, start by applying cuticle oil or cream and allow it to transition into the nails for the recommended duration, making sure it’s pliable and easier to manage. This vital process prepares your nails for the next operation in your DIY routine, ensuring a smoother, more effective result.
I’ve found that being patient during this step makes the cutting process far more precise, giving me optimal results every time.
Push Back Your Cuticles
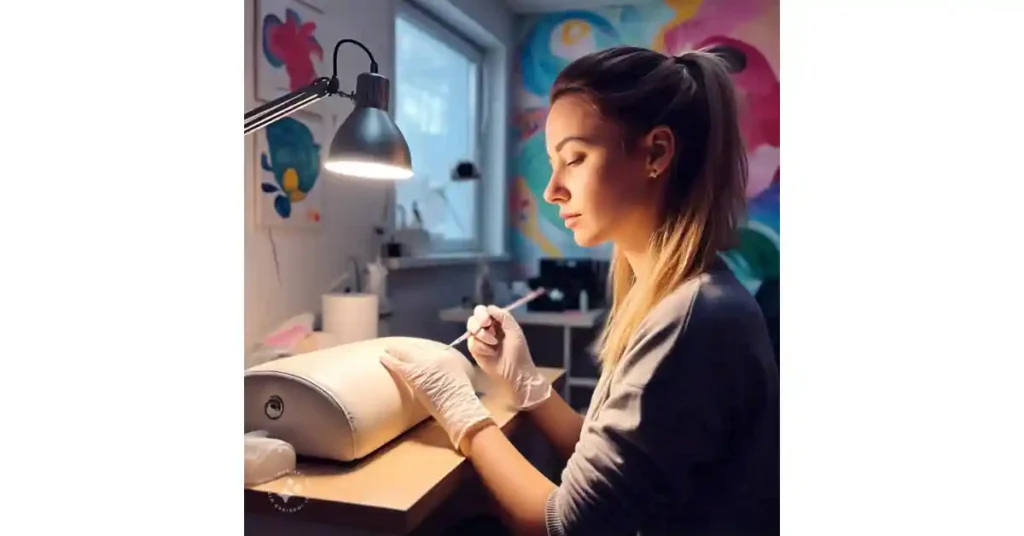
Gently push back your cuticles using a cuticle pusher to ensure softened cuticles and a well-defined area before proceeding with nail trimming. This pivotal stage helps achieve precision in trimming, preventing any hindrance to the nail trimming process.
I’ve found that taking the time to soften and carefully manage cuticles leads to a smoother, more professional finish in my DIY nail care routine.
Clip Your Nails

Using a sharp, high-quality nail clipper is a vital tool in nail care, allowing for a deliberate approach and careful trimming of acrylic nails to achieve an accurate cut and prevent splintering or cracking, ensuring an aesthetically pleasing result through a strategic slice and side progression.
In my experience, taking a patient process and maintaining a comfortable angle while focusing on each sequence repeated ensures a perfect cut and a professional finish, especially when adding oil as a final touch for enhanced clarity.
Moisturize Your Nails

Using a nail moisturizer, cuticle moisturizer, and nutritional moisturizer in your moisturizing routine boosts hydration, improves nail health, and ensures skin vitality, making it a vital part of nail and cuticle care for an indefectible finish and sustained overall health of skin and nails.
In my experience, this DIY routine with a proper moisturizing technique not only enhances the perfect finish of acrylic nails but also ensures lasting vitality and nail conservation.
Attention to detail in acrylic nail care
Caring for acrylic nails requires consistent maintenance, effective treatment, and thoughtful tips to enhance nail health, ensure nail protection, and promote strong nails as part of your beauty routine.
Use a sharp nail clipper to avoid damaging your nails
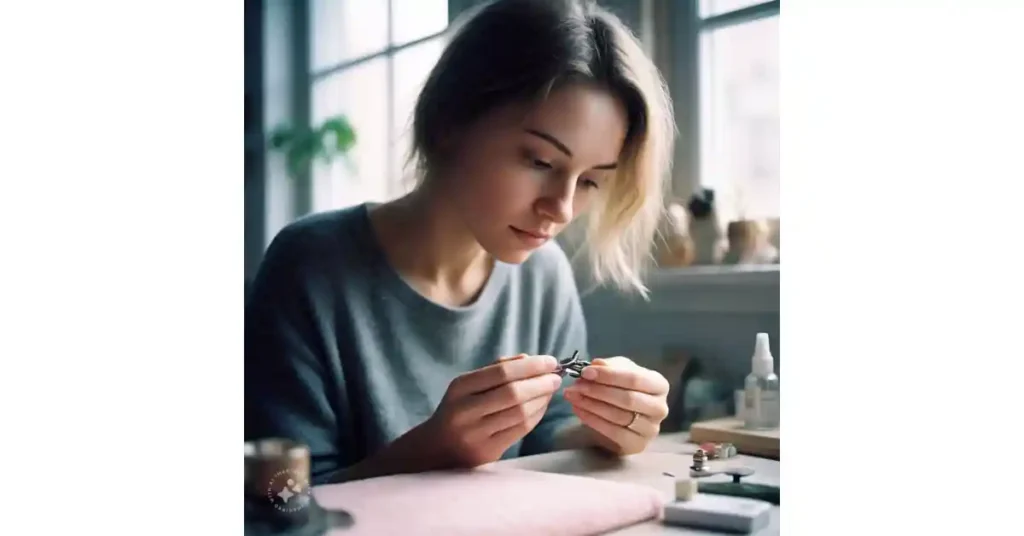
Using a sharp nail clipper with a specific design ensures a precise cut and prevents splintering or damaging your natural nails, while high-quality tools enhance acrylic nail maintenance for a polished manicure finish and professional overall result.
From my experience, the right manicure tools have made trimming and maintaining acrylic nails seamless, delivering the ideal blend of nail care and a flawless aesthetic.
Buff your nails to a smooth shine

Buffing your acrylic nails with a nail buffer creates a smooth finish, removes snags and rough edges, and enhances the polished appearance for a flawless manicure while maintaining the nails’ integrity and adding a natural shine.
From my experience, gentle buffing has always elevated my acrylic manicure, ensuring a refined surface and a professional-level finish enhancement with no complication.
Moisturize your nails and cuticles regularly to keep them healthy
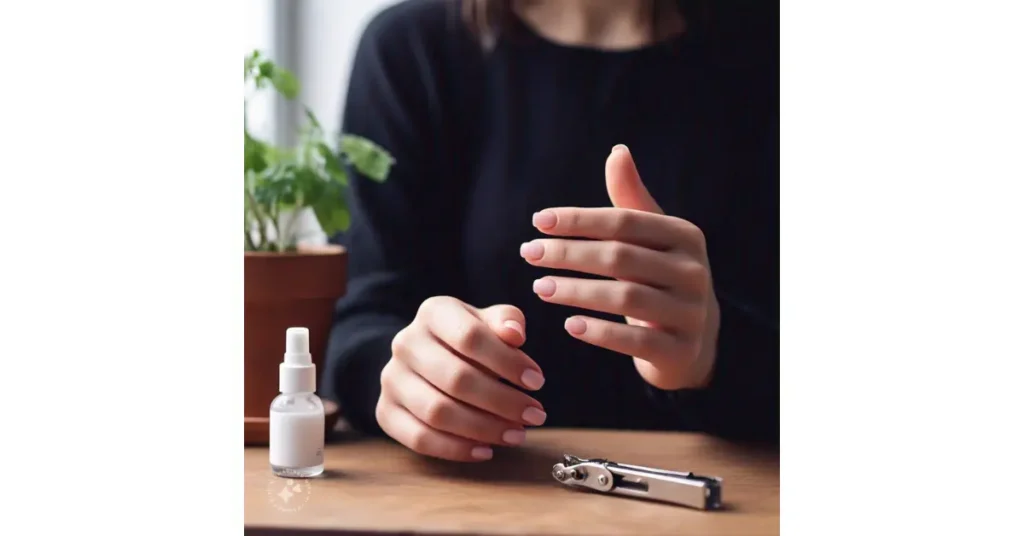
To maintain healthy nails, it’s essential to follow a regular moisturization routine for your acrylic nails and cuticles using a high-quality nail and cuticle moisturizer that prevents damage, breakage, and inflexibility while promoting strong nails and vibrant nails. This helps extend the life of your manicure, prevents damage prevention, and enhances overall nail health.
From personal experience, I’ve found that a consistent nail care routine keeps my nails soft, well-moisturized, and helps maintain their longevity, ensuring salon-quality results at home.
Conclusion
In conclusion, mastering DIY acrylic nail cutting not only saves time and money but also allows you to achieve salon-quality results from the comfort of your home. By following the right techniques and using the right tools, you can maintain healthy, beautiful acrylic nails with ease.
FAQ,s
How can I shorten my acrylic nails at home?
To shorten your acrylic nails at home, use a straight clipper and position it perpendicular to the nail’s free edge. Carefully clip from one side to the middle in separate steps to avoid cutting in one go and prevent potential cracks in the acrylic or natural nail.
Can I clip my acrylic nails?
To safely clip your acrylic nails, position a straight clipper perpendicular to the nail’s free edge and carefully clip from one side to the middle, avoiding cutting in one go to prevent cracking the acrylic or harming the natural nail.
Is it OK to take acrylic nails off at home?
Although some TikTok hacks for removing acrylic nails may go viral, it’s best to avoid the urge to rip off your acrylics; instead, opt for professional removal at a salon or use techniques that are the safest way to remove the nails without causing regret and damage.
Can you shorten acrylic nails during a fill?
Maintaining and reshaping your acrylic nails can be easily managed at home; you can trim them shorter during a fill session, ensuring each nail is perfectly shortened and reshaped to suit your needs. Regular maintenance by a manicurist or at home involves carefully performing these adjustments with tips on keeping your nails in top condition.
