Embracing the popular beauty trend of acrylic nails not only enhances your appearance but also instills a surge of confidence with every hand gesture. Now, let’s ensure your wear experience is flawless by learning the vital skill of properly cutting your acrylics to maintain their beauty and health. Don’t wait any longer to perfect your nails; grasp the art of the correct cut today!
Table of Contents
Tools and equipment for cutting acrylic nails
Essential cutting tools
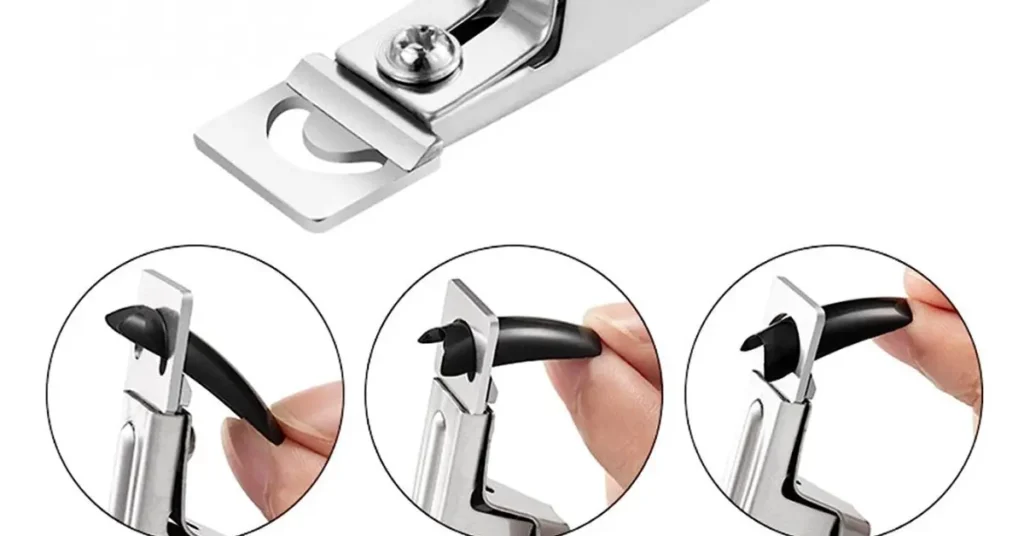
In the quest to maintain acrylic nails in the right way, the detailed guide emphasizes the importance of essential cutting tools. Acrylic Nail Clippers, not to be confused with Regular nail clippers, are suitable for the job as they’re specifically designed with sharp and sturdy blades to cut through the tough acrylic material cleanly, without causing cracking or splintering. Moreover, Acrylic Nail Scissors are also available, which are specially designed to handle the thickness and hardness of acrylic nails, offering a stronger construction than regular ones. Drawing from my experience, using the right tools not only preserves the shape but also the health of both the acrylic and the natural nails.
Importance of sharp and clean tools
- Acrylic Nail Clippers: Specifically designed with sharp, sturdy blades to avoid cracking and splintering.
- Regular nail clippers: Not suitable for acrylic material; can damage both the acrylic and the natural nails.
- Acrylic Nail Scissors: Available for home use, with a stronger construction to handle the thickness and hardness of acrylics better than regular ones.
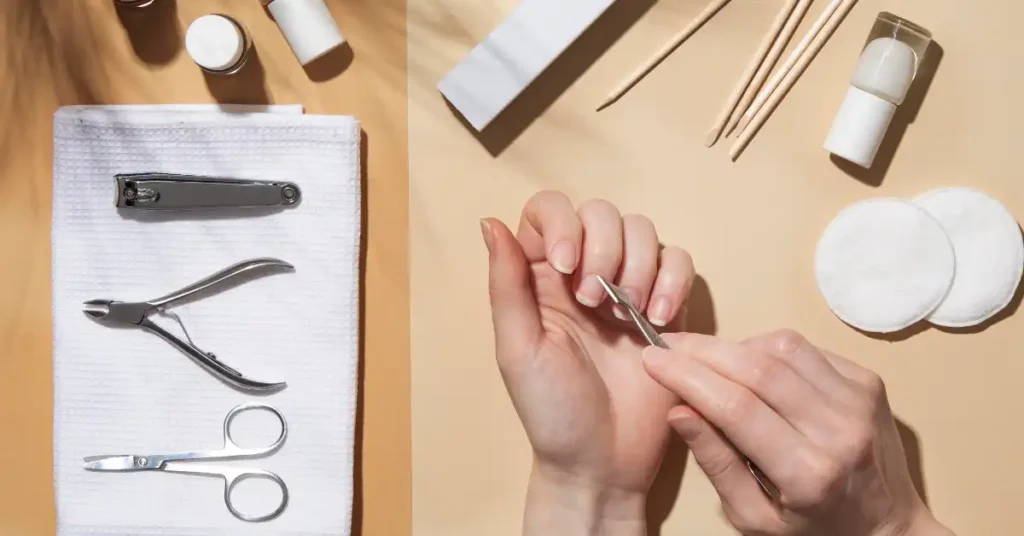
Using the correct tools not only prevents damage to natural nails but also ensures a professional, clean cut every time, drawing on my own experience as an expert nail technician.
Additional equipment for nail cutting
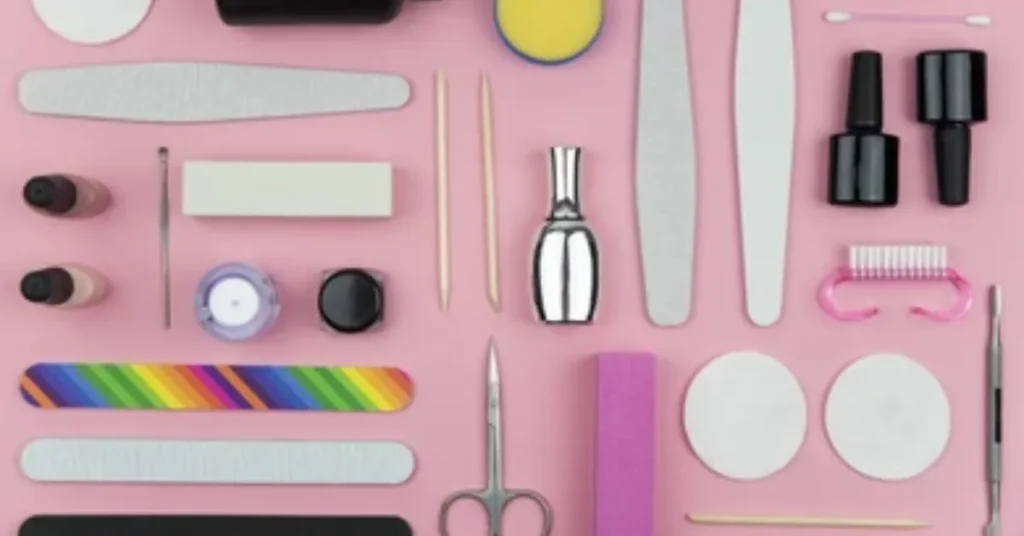
In nail cutting, especially for acrylic nails, using the right tools is important. A Cuticle Pusher and Cuticle Remover help create a clean workspace by pushing back and removing excess cuticles. After cutting, a Nail File shapes and smooths the edges, while a Nail Buffer gives a shiny finish. A Nail Brush is useful for removing any nail dust. From metal to plastic pushers and various types of removers, these tools make nail care easier and more effective. Through years of practice, I can confirm that these accessories enhance overall nail care.
Step-by-step guide on how to cut acrylic nails
To shorten acrylic nails correctly, always proceed with a detailed guide on how to carefully clip and file your nails for a pristine finish.
Preparing the nails
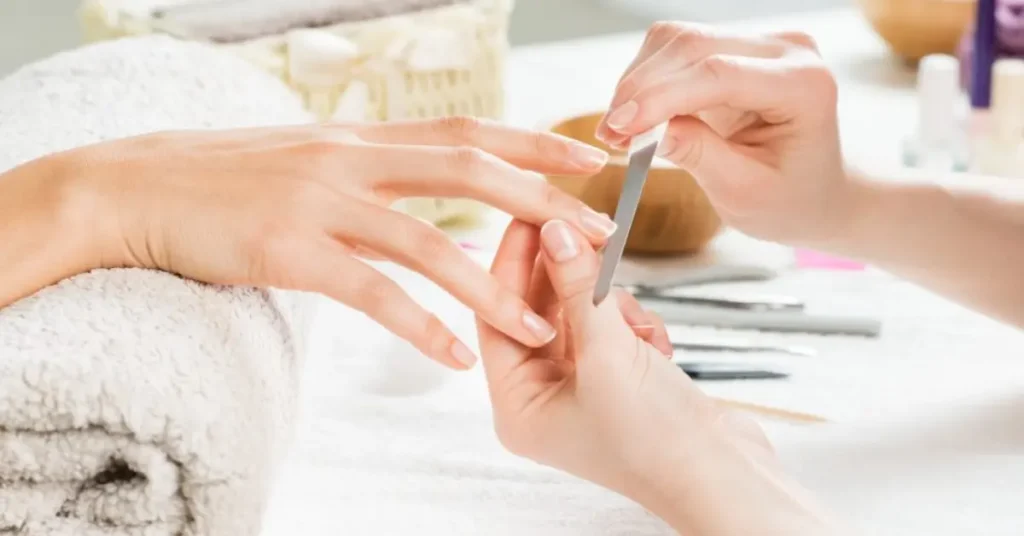
To correctly shorten acrylic nails, first gather your necessary tools like acrylic nail clippers, scissors, nippers, an electric nail file, and a buffing block. Before you start, be sure to clean your tools; disinfect them with rubbing alcohol to make them free of bacteria and debris. If you have polish on, remove nail polish with a nail polish remover and cotton pads. Finally, wash and dry your hands properly with soap and water to remove any dirt and oil, ensuring a clean-cutting process.
Selecting the desired length
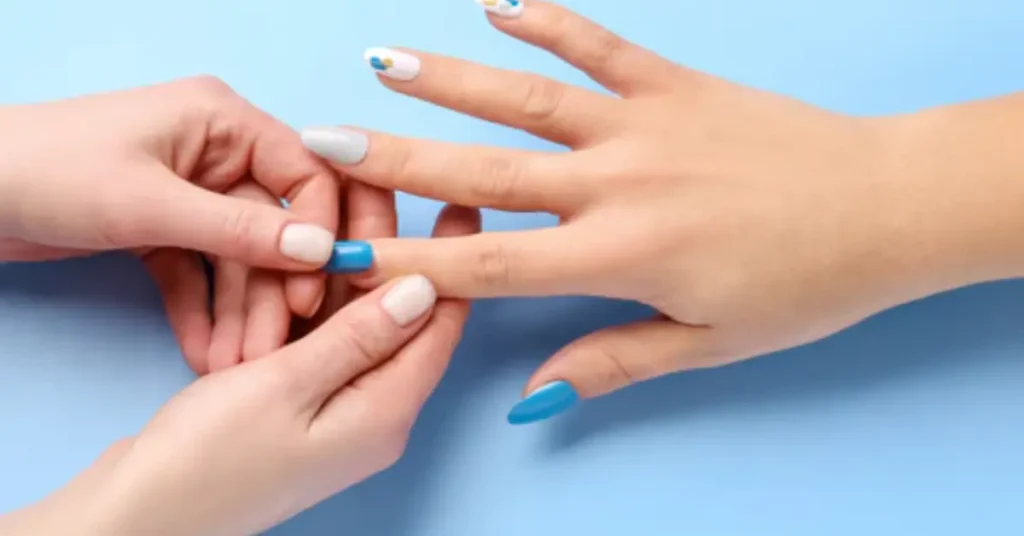
To achieve a precise cut, first Assess the Length of your acrylic nails and determine the desired length you want to maintain or trim down to. Then use a pencil or washable marker to mark the cutting line on each nail for an even result.
Cutting techniques for acrylic nails
Using Acrylic Nail Clippers is the preferred method to carefully shorten acrylic nails, ensuring to cut straight across the previously marked cutting line and applying gentle pressure to cleanly cut through the acrylic material without leaving uneven edges.
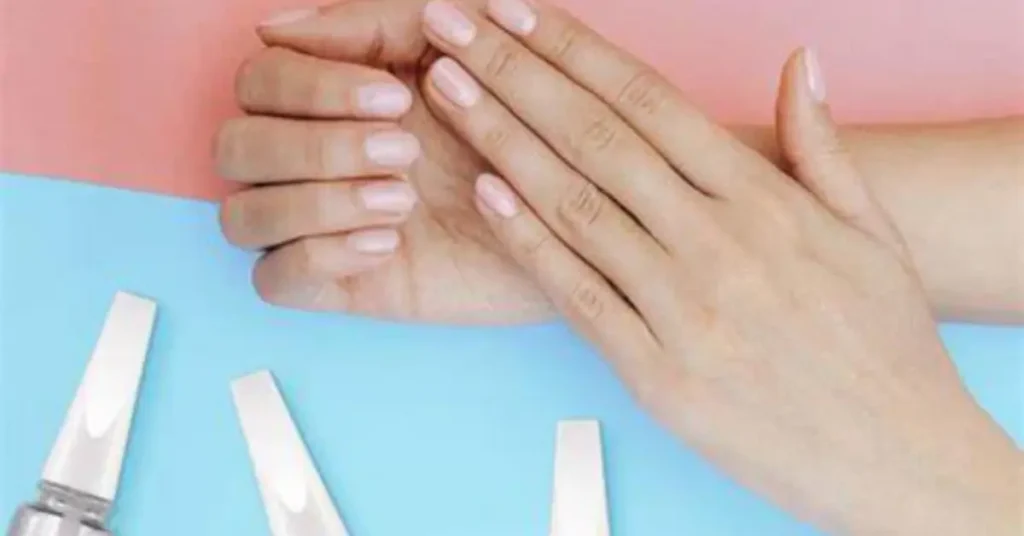
After cutting, engage in Filing the Edges with an electric nail file or buffing block to smooth out any rough edges, shape them into the desired look, and avoid excessive filing which could weaken the acrylic and possibly lead to breakage. Once you’ve finished cutting and shaping, it’s important to Clean the Nails with a nail brush to remove all dust and debris from the nails and surrounding skin.
Can You Cut Acrylic Nails?
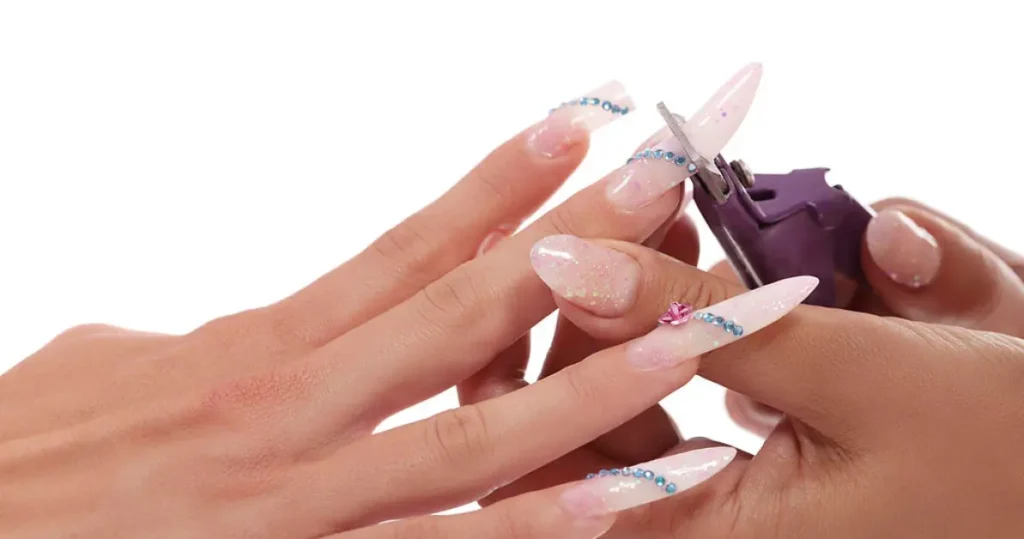
Yes, acrylic nails can be cut using nail clippers or special nail-cutting tools. It’s important to cut them slowly and carefully to avoid cracking or damaging the acrylic.
To avoid making costly and painful mistakes when cutting your acrylic nails, I always recommend gentle filing to reach the desired length and clippers only if necessary, following all guidelines closely.
What to Avoid and Why
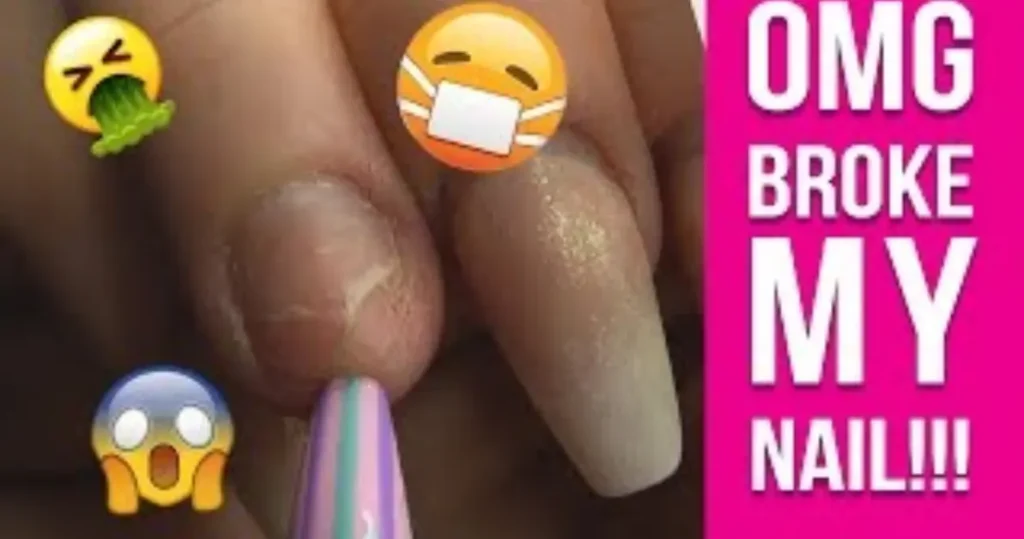
Avoid using too much force or cutting too quickly to prevent splitting or damaging the acrylic, which can lead to uneven edges and possible damage to your natural nails.
The Vertical Crack
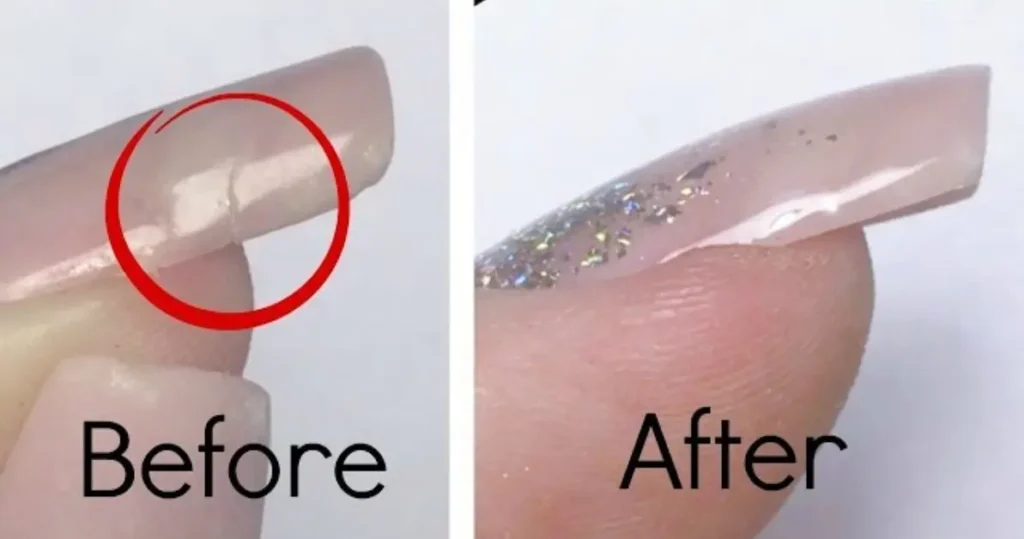
Vertical cracks in acrylic nails can leave your natural nails exposed and vulnerable. These cracks often happen when too much pressure is used while clipping, especially if you cut straight across or flatten the sides too much. To avoid this, gently taper the sides and keep the clipper away from the nail bed. Cracks can be painful and expose your nails to bacteria, risking infection.
Cutting the Nails Too Much
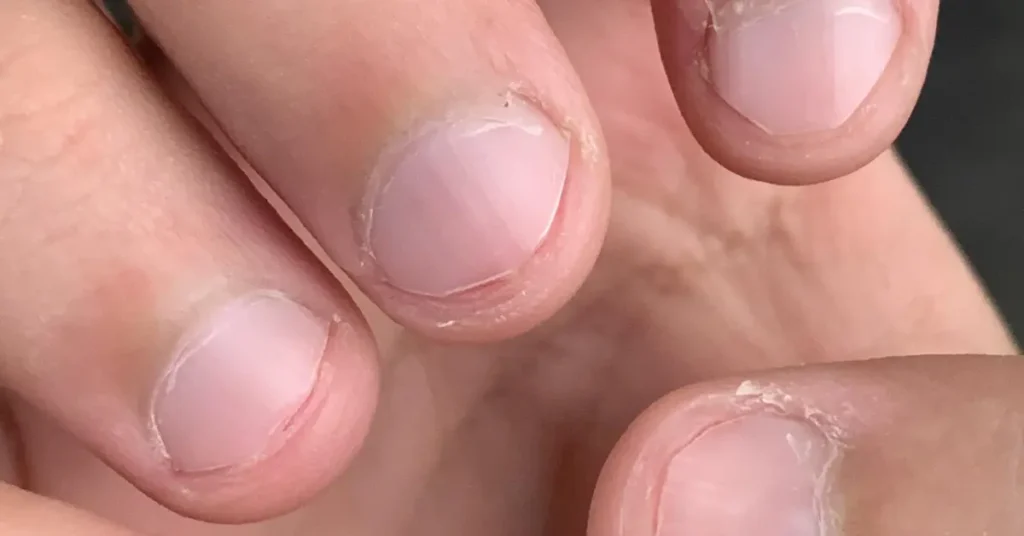
Cutting your nails too much from the get-go can set the stage for a length you didn’t intend, often leading to an additional appointment to file and shape them back to a shorter, desired length.
Using Dull Nail Clippers
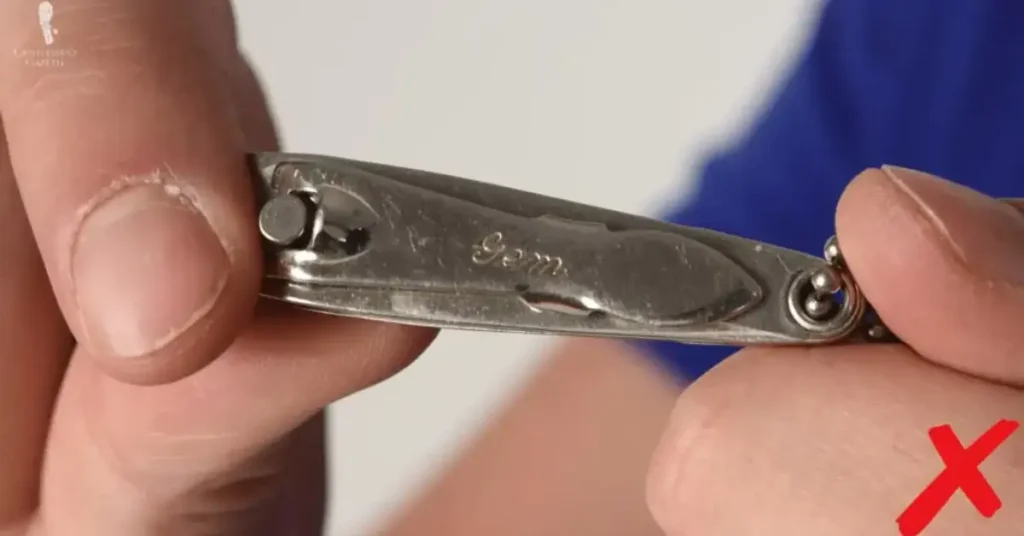
Using dull nail clippers is a mistake that can turn worse, as you have to press harder which can break the acrylic, expose the entire nail to more pressure, and make it vulnerable to a vertical crack. Always opt for high-quality tools to avoid making your nails prone to damage.
What to Try Instead
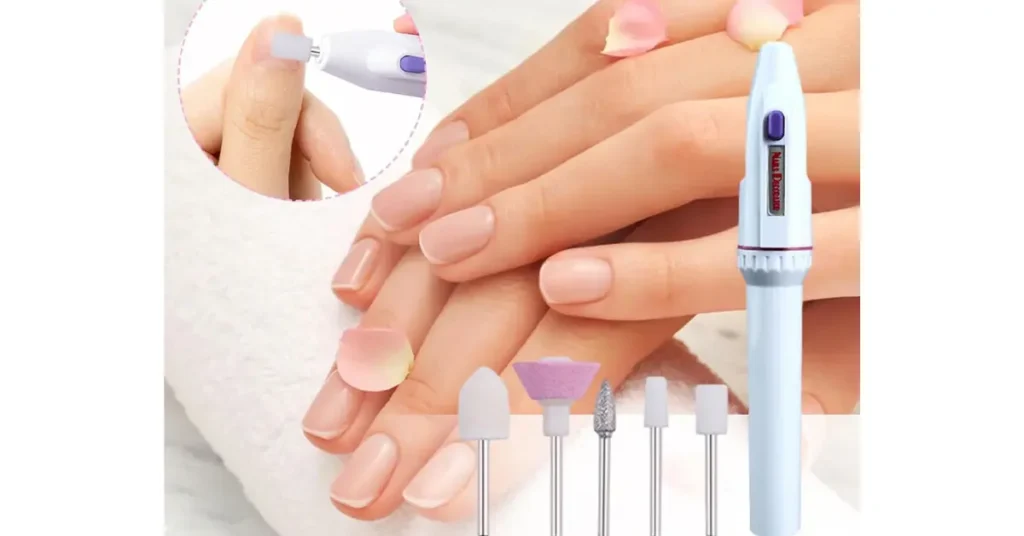
Instead of starting over and ruining your hard work with a new set, try a few tricks to ensure a seamless trim; this time-saving approach is an easily avoidable disaster. Use precise tools to carry out the process, maintaining the integrity of your acrylic nail.
Cut from the Outer Corners
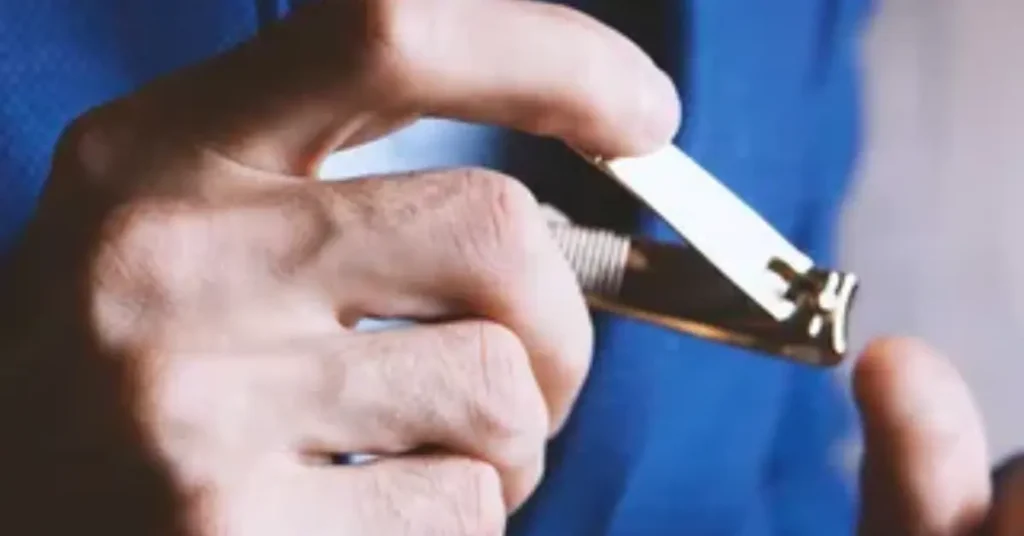
Avoid making the nail vulnerable by trimming from the middle; instead, start by clipping the outer corners. Line up the clipper at the edge, and clip a few millimetres depending on nail width. Then head over to the other side, repeat the process, and gently work towards the middle. With two sides clipped, your entire edge comes off with much less resistance from either side.
Cut in a V Shape
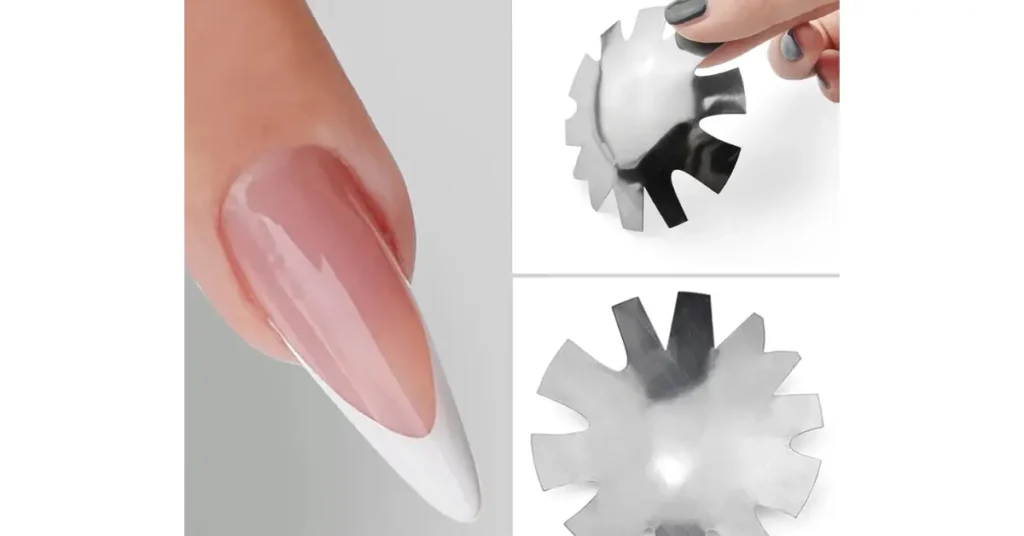
To control the length being removed, cut in an entirely reverse V shape, starting at the edges and avoiding the center. Alternatively, use an electric nail file to file down the center part to achieve the shape you want.
Cut a Little at a Time
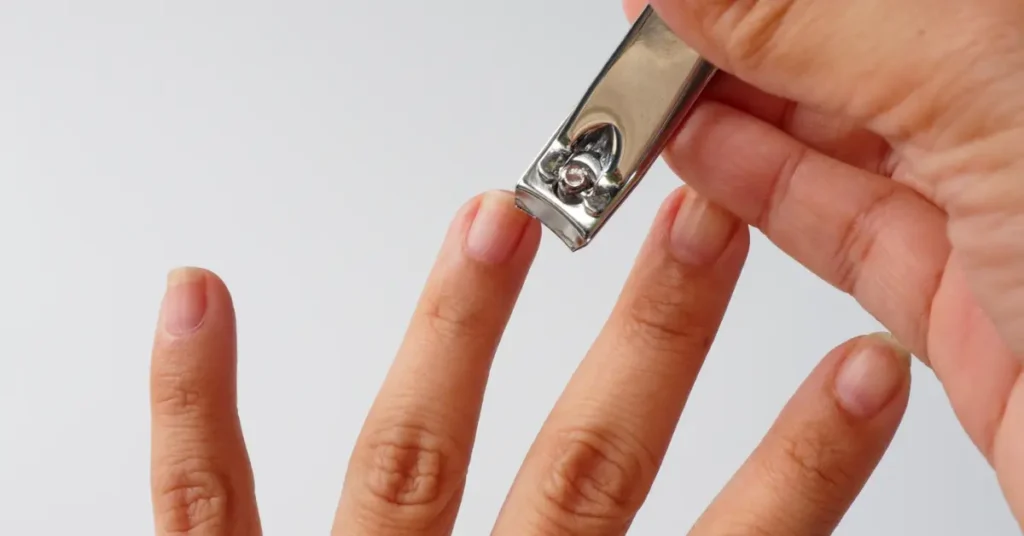
When you cut acrylic nails, always think about taking off a little length at a time, and pay close attention to achieve the right way highlighted in this detailed guide. Use an electric file for filing and shaping, but move quickly and work the file with ease and care to avoid a trimmed look that goes too far.
Nail Trimming
Determine how long you’d like your nails to be
Before you start cutting, consider how much you need to take off and whether to skip the nail clipper and file down the sides of the nail instead. If you’re not sure how short you want to go, start with a small cut or rather use a file; you can always opt to shorten the nails quickly later on with a coarse, 100 grit, or a medium, 180-220 grit file.
Position the clippers on the outside of the nail and cut toward the middle
When cutting acrylic nails, use the edge of the clipper to make a small cut from the outside toward the small point in the center, ensuring the clippers are angled diagonally upwards. Don’t use scissors, as they might apply uneven pressure on different parts of the nail, causing the acrylic to crack. If using a regular nail clipper is not strong enough to cut through the denser acrylic, try toenail clippers, which are larger and provide more leverage.
Cut towards the middle of the acrylic on the other side
To avoid breaking or shattering, use clippers to cut from both sides of the nail, aiming to meet at a point in the center. This two-step process minimizes the chance of creating a stress point in the center of the acrylic nail that could cause the whole piece to split.
Remove the cut tip by pulling with your fingers
After the cut, if the acrylic tip hasn’t fallen off, try gently pulling the cut portion back to remove it; should it remain detached, stop and go to a nail technician if you feel the nail starting to crack vertically. You may need to use nail clippers to re-cut any portions of the acrylic still attached at various places.
Acrylic Adjustments
Thin out your nails using a nail file or motorized nail grinder
After cutting, if the acrylic tip doesn’t fall off, try gently pulling on the detached cut portion. If it remains attached, stop and consider if you may need to use nail clippers to re-cut stubborn portions or, if there’s any starting to crack vertically, go to a nail technician for help.
Use a nail file to smooth out jagged edges
After cutting the acrylic nails, if the tip doesn’t fall off, try gently pulling or bending the cut portion back. Should it remain, stop and go to a nail technician if you notice the nail starting to crack vertically, or you may need to use nail clippers to re-cut any portions that are still attached in certain places.
File the tips of your acrylic nails into your desired shape
Switch to a medium, 180-220 grit file or a fine, 400-600 grit file to shape the tips of your nails into the desired look. Considering common nail shapes like square, oval, or squoval, and more trendy or interesting ones such as stiletto and almond, it’s important to figure out what shape will look best with your cuticles—rounded or curved cuticles suggest an oval or round shape, while more angled cuticles might suit a square shape nicely.
Finishing Touches
Rinse and dry your hands to remove acrylic dust
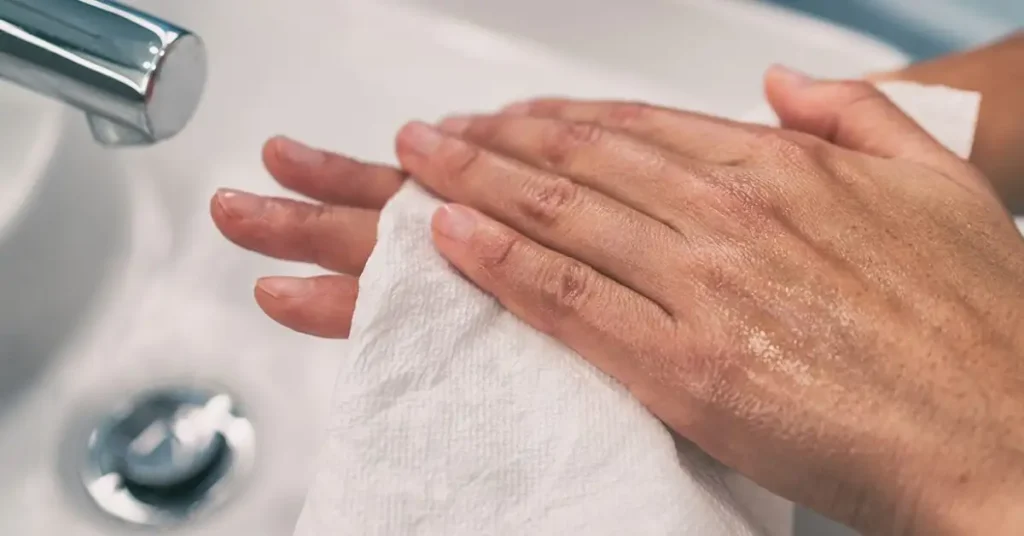
After filing your acrylic nails, use warm water to rinse away any fine dust from your fingers to avoid a bumpy manicure. Make sure to fully dry your hands to prevent moisture from being trapped under the nail polish, which could cause it to lift or chip.
Paint 1 coat of nail polish in a color that matches your acrylics
I ensure to apply an even coat of polish across the nail, carefully starting at the cuticle and stroking towards the outer edge. This method seals the nail tip to add strength and helps cover up any small imperfections caused by filing. If you don’t have a color that matches your acrylics, I would opt for a clear top coat to enhance the finished effect and make your nails look longer. And a pro tip: always have a cotton swab ready to clean up any polish that gets on the skin. As an expert, I can attest to the difference these small steps make for a lasting and professional manicure.
Let the polish dry fully to avoid smudges and dents
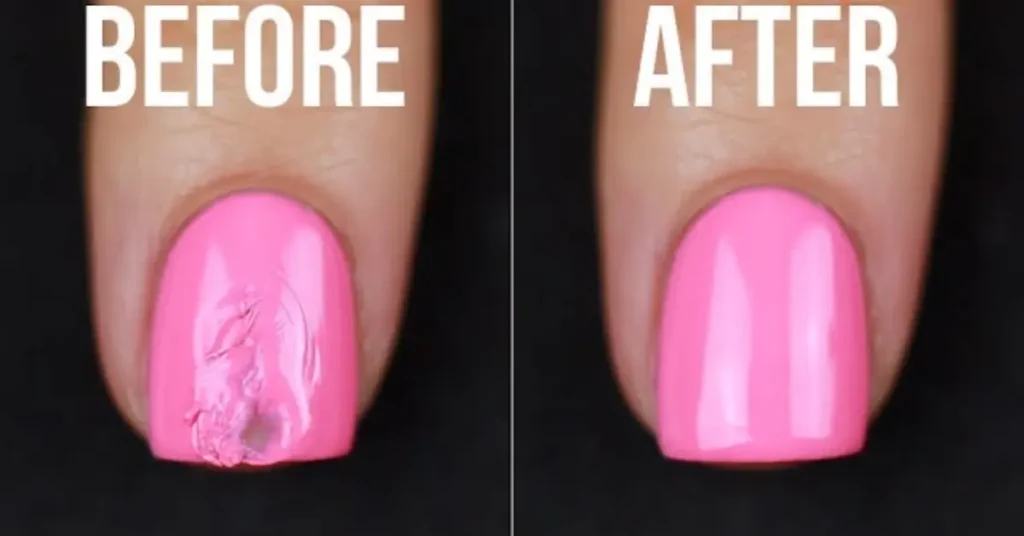
After shaping and polishing your acrylic nails, let them dry for 20 minutes to an hour to avoid smudges. Newer nail polish dries faster, so try to use bottles that are less than 6 months old. If you’re in a hurry, dip your nails in ice water, use a cool hair dryer, or apply a drying liquid. I find that the ice water dip works best, but a cool hair dryer is also effective.
Tips for cutting acrylic nails
Filing and buffing techniques
Use gentle pressure when filing and buffing acrylic nails to keep them sturdy; applying excessive force can weaken them and may cause breakage. Be mindful not to over-file, as it can thin out the material, making it more prone to breaking and chipping. Buff lightly, and choose the right tools to avoid removing the top protective layer of the nail, which can lead to damage.
Nail hygiene practices
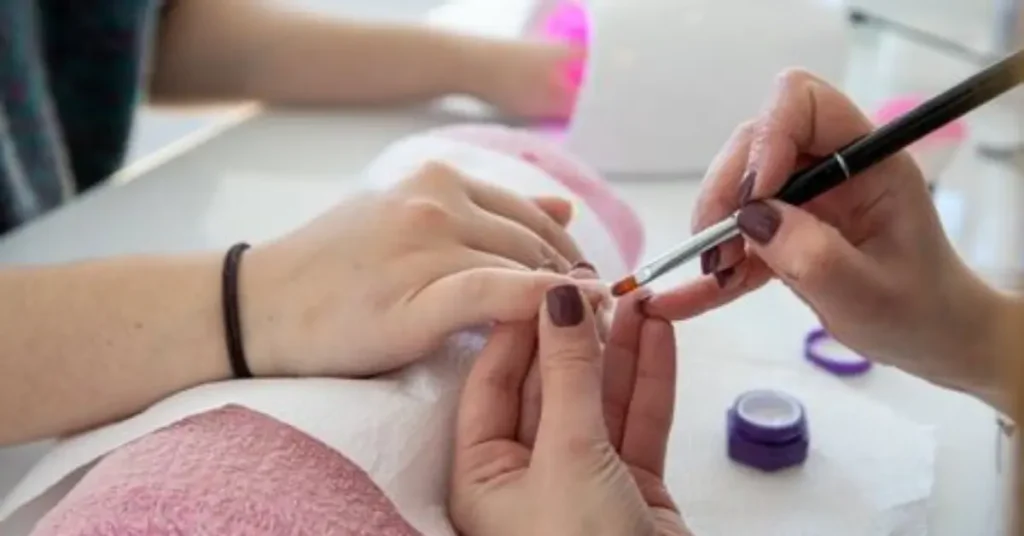
To maintain top-notch hygiene standards, always regularly clean and disinfect your cutting and filing tools before and after each use. It’s crucial to avoid biting or picking at acrylic nails to prevent damage to the acrylic material and natural nails. Do not forget to moisturize regularly with cuticle oil and hand cream to nourish the nails and surrounding skin, which prevents dryness and promotes healthier nails.
Post-cutting care
To maintain the health and aesthetics of acrylic nails, cutting them correctly is crucial. The right nail clippers and techniques are essential to achieve safe, beautiful results. After cutting, applying a clear top coat can add shine and protection, while being gentle on your hands helps to avoid any accidental breakage or damage to your newly shaped nails. Regular nail care and hygiene practices are key to ensuring a vibrant, stunning look, giving you the confidence to showcase your fabulous manicure to the world.
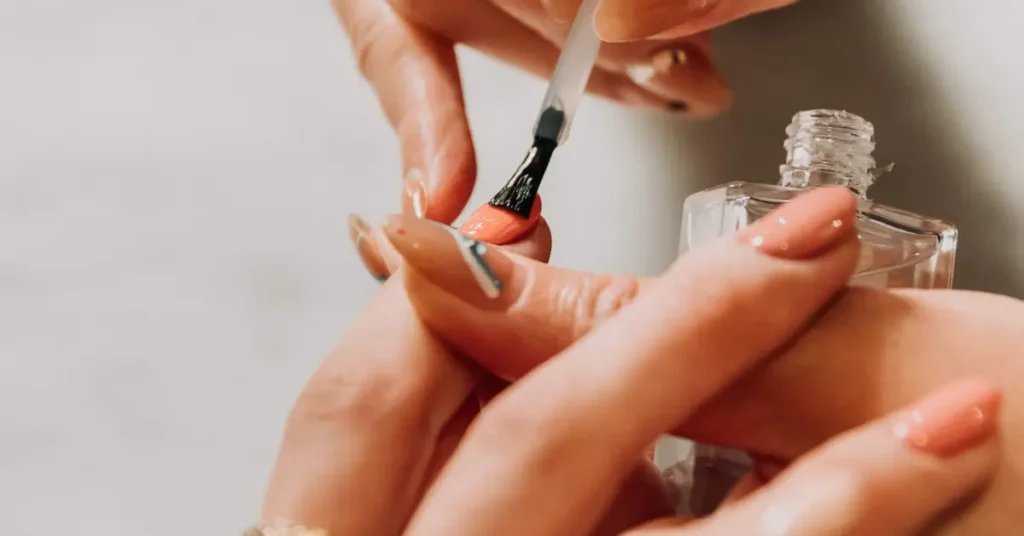
From my personal experience as an expert, I know that attention to post-cutting care, like monitoring for damage, and looking out for signs of lifting or chipping, allows you to address these issues promptly and avoid further complications.
Why Do I Need to File My Acrylic Nails?
Properly cutting and shaping your acrylic nails is crucial to maintaining their health and aesthetics. It’s important to be gentle to avoid accidental damage or breakage, and applying a clear top coat after adding nail polish is essential for protection and shine. Regularly monitor for signs of lifting or chipping, and address these issues promptly to maintain vibrant and stunning nails that you’ll be confident to showcase.
How Else Can I Care for My Acrylics?
Filing and regular maintenance are key to the care of your acrylics, ensuring they remain well-shaped and durable.
Surrounding Nail Hygiene
To protect your acrylic nails, always moisturize your hands, apply cuticle oil regularly, and keep the area around your nails, including fingers, soft and smooth. This reduces the chance of damage, keeping natural nails and acrylics from becoming dry and brittle, which can lead to eviscerated polishes and Yuck-inducing cracks and peeling.
Dealing with a Broken Acrylic
Despite following strict protocols and employing careful precautions during the trimming of acrylics, the process isn’t completely fool-proof and accidents can happen. If an acrylic gets cracked, yet the tip is not damaged, you don’t have to remove the whole nail and start all over from the beginning. Instead, file down the affected nail to make the surface level, and then apply new acrylic on top of the existing one.
Removal
When a vertically cracked acrylic nail tip occurs, you’ll need to remove it and start from the beginning. First, use an electric file to file down the acrylic close to the natural nail. You can then soak the finger in 100% pure acetone to break down the acrylic.
Another method is to cover the nail with a soaked cotton swab, wrap it with tin foil to secure it, and keep the finger resting in the bowl as you work on the rest of the nails without interruption. If the natural nail is damaged and bleeding, halt the process and wait until it fully heals before any reapplication.
Keeping Your Nails Healthy Under Acrylics
To maintain the glamour and beauty of your new full set and ensure that your acrylics last longer, it’s essential to keep your natural nails healthy. Regularly washing hands, keeping nails clean, and properly moisturizing will reduce the chance of infection and ensure the longevity of your acrylics. Furthermore, keeping up with proper acrylic maintenance by visiting your nail technician every two to three weeks is crucial.
What Do You Do if Your Natural Nail Breaks Under Acrylic?
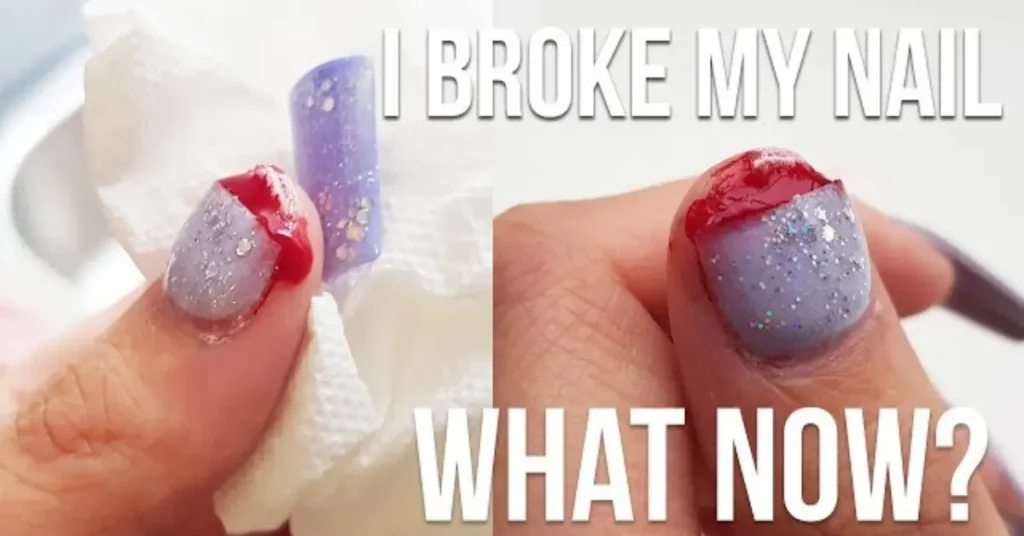
A nail art fanatic knows that their worst nightmare is a natural nail breaking under an acrylic. When this dreaded event occurs, causing not just intense pain but also discomfort, it’s imperative to remove the acrylic nails using a disinfectant and a soaking container; tweezers can help clear any fragments. To address the pain and inflammation, ice packs and painkillers are advised, and seek medical attention if there’s any sign of infection. Lastly, always keep an eye on the growth of the new nail as it recovers.
How Do You Cut Your Nails Under Acrylic?
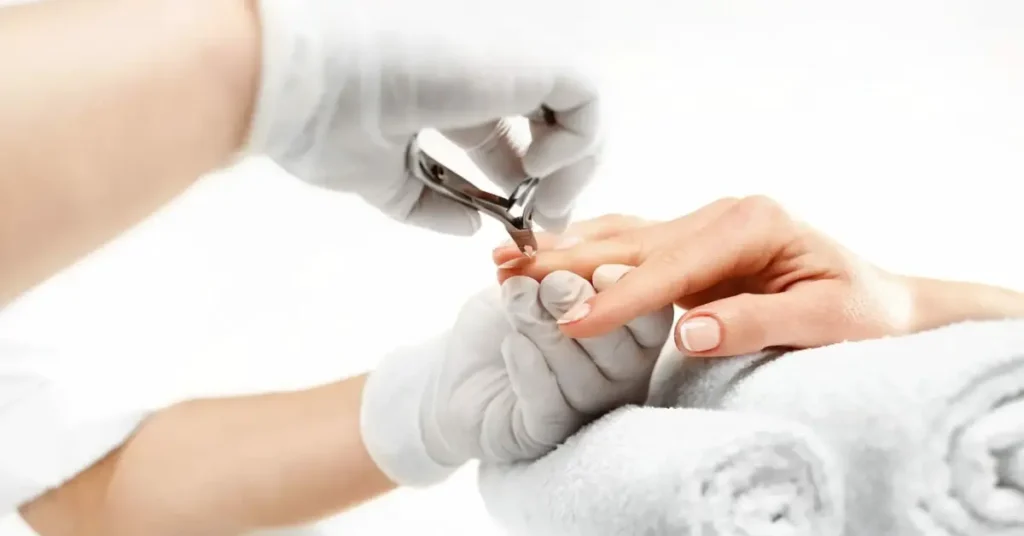
When overgrown nails underneath acrylics become annoying AF and get in the way of daily activities, the key to prevention is to keep it from happening with regular trims. The best thing in such scenarios is to maintain regular maintenance appointments with your nail technician to keep your set in great condition. Between visits, DIY nail pros can use an electric nail drill with a needle bit; just be sure to Clean your nails thoroughly before starting to avoid infection nobody wants that cramping their style. Work slowly, very slowly, buff out the natural nail from the middle, working your way to the side, until you feel a smooth surface.
Conclusion
In conclusion, the art of cutting acrylic nails requires a blend of precision, patience, and the right tools. By avoiding aggressive cutting and being mindful of nail health, you can ensure your acrylics remain elegant and intact. Remember, a little care goes a long way treat your nails with proper maintenance and regular touch-ups to radiate confidence whenever your hands gesture. With this guide in hand, you’re now equipped to keep your acrylic nails looking flawless, reflecting the perfect blend of beauty and strength.
FAQ,s
How do you cut acrylic nails?
To cut your acrylic nails correctly, position your clippers on the outside of the nail near the tip, ensure they are in the middle, and very steadily cut through to the other side; then you can simply pull off the detached piece. Always use this technique to avoid damaging or shattering your acrylics.
How do you shorten nail tips?
Luckily, you can safely shorten nail tips at home using a pair of nail clippers and a fine-grit file by starting with trimming the length and then refining the shape, all while making sure to protect your manicure after washing your hands and choosing the right tools.
Can you shorten acrylic nails during a fill?
Yes, it’s completely possible to shorten acrylic nails during a fill; simply ask your technician to easily adjust the length using an e-file, carefully avoiding the natural nail just under the tips.
